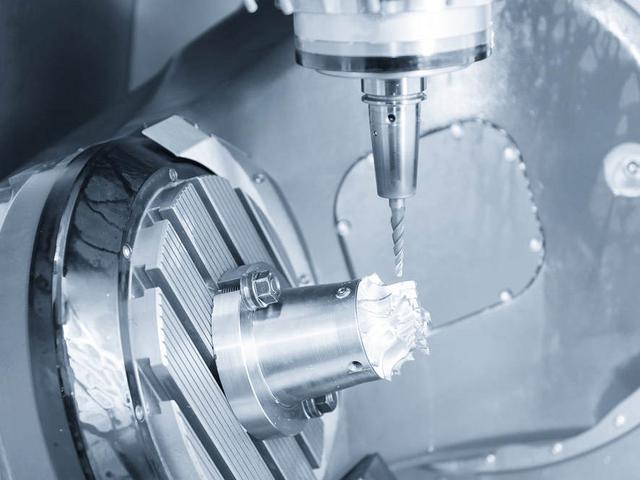
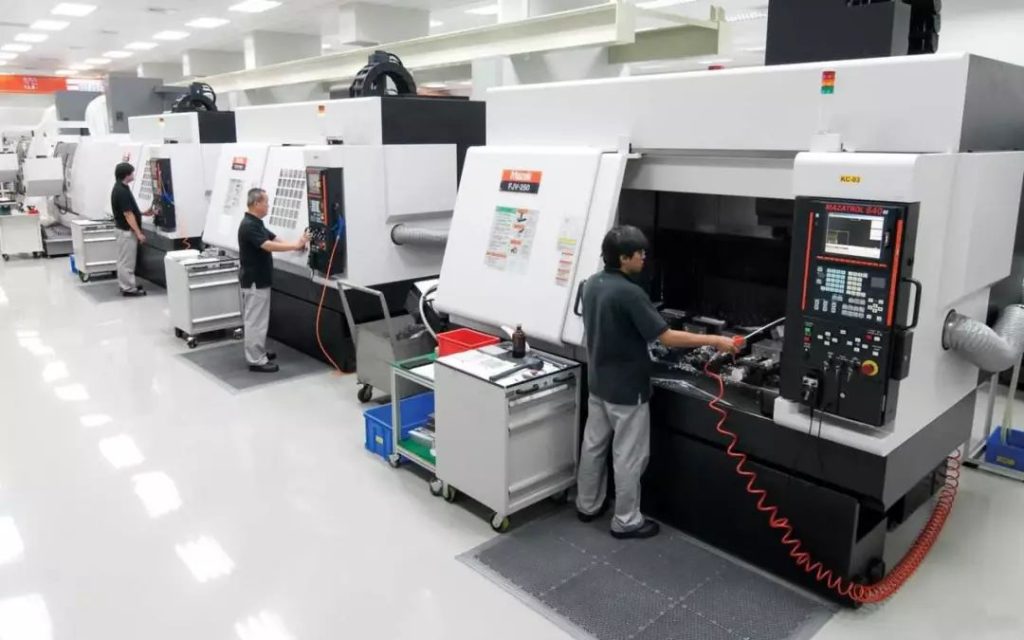
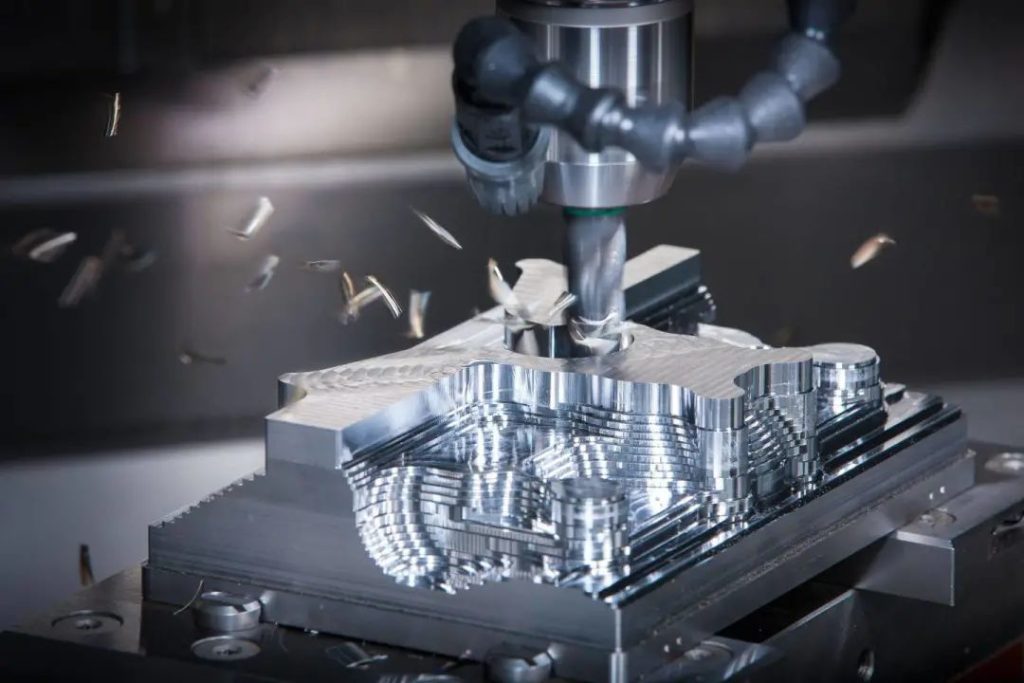
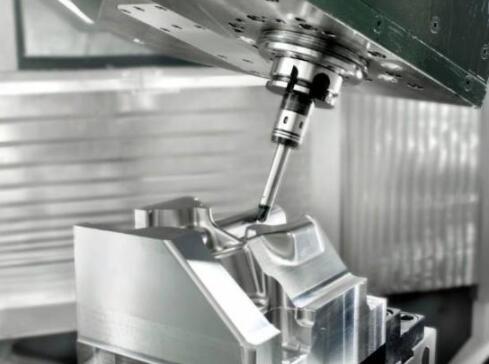
In the production task, the turning of soft parts is a headache, because the main problem is the difficulty of clamping, and the clamping force should be controlled within a reasonable range, neither too large nor too small.
The structure and shape of the part are simple, and the processing technology is also very simple. The diameter of the part blank is adopted Φ For the 20mm soft aluminum bar, the inner hole, outer circle and one end face of the workpiece shall be machined at one time on the processing of metal machining processing parts, and then the other side of the workpiece shall be cut off. In the processing of the other end face, the thickness of the blank of the part has been reduced to 3.2 mm, and it is difficult to re process the part for clamping. Considering the soft material of the part, the second clamping process of the part adopts three jaw self centering soft jaw chuck clamping and two petal block clamping.
There are so many difficulties in processing soft metal parts
In the production task, the turning of soft parts is a headache, because the main problem is the difficulty of clamping, and the clamping force should be controlled within a reasonable range, neither too large nor too small.
Take the processing of aluminum parts as an example. The materials of the parts are highly plastic. The chip during processing is ribbon shaped, which is not easy to break, and is easy to cause thermal deformation; Generally, it is not resistant to high temperature, and chip buildup is easy to occur in the cutting process, which is manifested in the phenomenon of tool sticking at high temperature, which further increases the cutting force, so the parts will "slip" when the compaction force is insufficient.
Process analysis
A metal sealing gasket part is shown in Figure 1. The material of the part is pure aluminum 1060, and the processing quantity is 500 pieces. The part is of sheet annular structure with outer diameter Φ 13.5mm, inner diameter Φ 6mm, 3mm thick, three 90 ° annular grooves need to be machined on the two end faces of the part to compensate the deformation space of soft metal under compression, and the surface roughness of the part is Ra1.6 μ m.
Structural Diagram of Metal Sealing Gasket
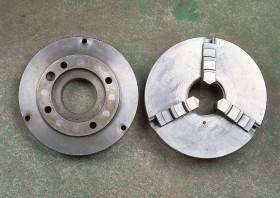
The structure and shape of the part are simple, and the processing technology is also very simple. The diameter of the part blank is adopted Φ For the 20mm soft aluminum bar, the inner hole, outer circle and one end face of the workpiece shall be machined at one time on the CNC machine tool, and then the other side of the workpiece shall be cut off. In the processing of the other end face, the thickness of the blank of the part has been reduced to 3.2 mm, and it is difficult to re process the part for clamping. Considering the soft material of the part, the second clamping process of the part adopts three jaw self centering soft jaw chuck clamping and two petal block clamping.
These two clamping forms are unstable. In the clamping state, there is non-uniformity of force on the circumference of the part. The clamping force of some machined parts is too small, and the workpiece will "slip" in the turning process, while the clamping force of some machined parts is too large, and the external surface of the part will be "pinched".
Design and Analysis of Clamping Apparatus for Inner Lining Mandrel
As a clamping fixture for mass production, it should first be positioned accurately to ensure the repeated positioning accuracy after clamping the workpiece, so that the center of the workpiece coincides with the turning center of the lathe spindle, and at the same time, the axial positioning surface of the workpiece keeps good contact with the base surface of the fixture positioning piece.
In the end face turning process of parts, the cutting force changes with the structural shape of the end face. In order to avoid the uncertainty caused by improper clamping in the turning process, it is necessary to control the clamping force within a relatively stable range. However, the clamping force that depends on manual control has greater randomness.
The specific mounting hole of the clamp needs to be re processed again to ensure the accuracy of the positioning reference. Tighten the nut on the machine tool, and machine the mounting hole according to the outer diameter of the workpiece. Control the interference clearance of about 0.02mm.
Later, the workpiece loading and unloading only needs to loosen or tighten the nut. When the clamping force is insufficient, it is only necessary to take out the mandrel, reduce the outer diameter of the mandrel, and increase the deformation of the clamp in the specific compression state. The excessive clamping force of manual clamping is almost transmitted to the mandrel, which will not affect the workpiece. At the same time, a spring ejector rod is arranged at the rear end of the mandrel to assist in pushing out the workpiece.

